You are hereHome / Arduino Projects / Project Page: IR Keyboard
Project Page: IR Keyboard
No Patience for Searching
Our LG Blu-ray player has a YouTube app. We use it to watch mostly older programming like Monty Python sketches or Schoolhouse Rock.
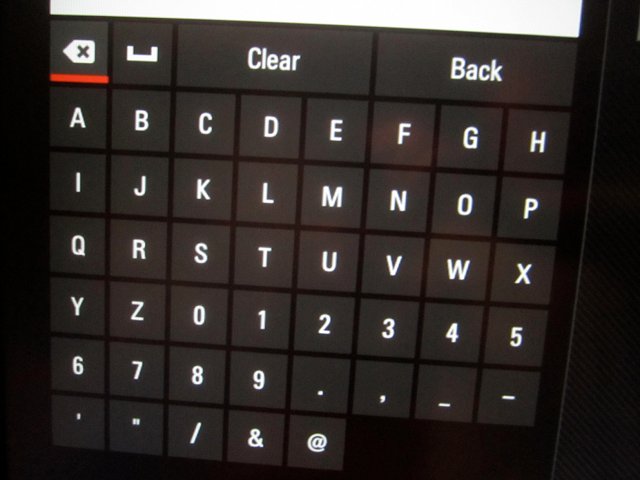
I quickly grew tired of searching for programs with the remote control. How the heck am I supposed to have the patience to search for anything with more letters in the title than The Ben Heck Show?
If I had a full size keyboard it would be easy to type my search requests. Since there is an Arduino library to send IR signals, the idea for an IR keyboard was born.
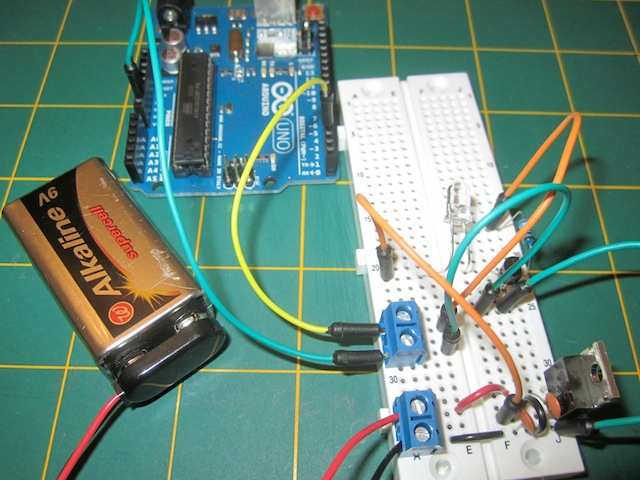 The proof of concept, I decided, was to successfully control my particular Blu-ray player. All I had to do was track down the LG codes, which was not difficult, and the IRremote library would send them in the correct format. I wired up an IR LED on a breadboard to an Arduino Uno and uploaded a sketch that constantly sent the Volume Up command to my TV (also made by LG ). It just didn’t work. Discouraged, I began to clean up and placed the breadboard on a high stool near the TV. As I was gathering my tools the TV got louder and louder. I was first startled and then elated. It worked after all. Aim can be everything in IR.
Invisible and Powerful
IR is a bit difficult to work with simply because it is impossible to see without the aid of a digital camera. In the early prototyping stages it can be difficult to tell why something is not working if you’re not really sure that you are sending anything from the LED..
Lack of feedback from the receiver also makes things difficult and initial testing was not very successful. Commands would be missed by the Blu-ray player and then everything would be out of sync. By trial and error I figured out that having the code delay for 30 milliseconds after each command had a drastic improvement on accuracy. This made me realize that we adjust our behavior appropriately when using a remote control. Not every click registers but we just click again without being phased.
Building the Hardware
My original design was just a keyboard with an on-board LED. Even the best typists, though, need to see what they’re typing and should have a chance to correct errors.

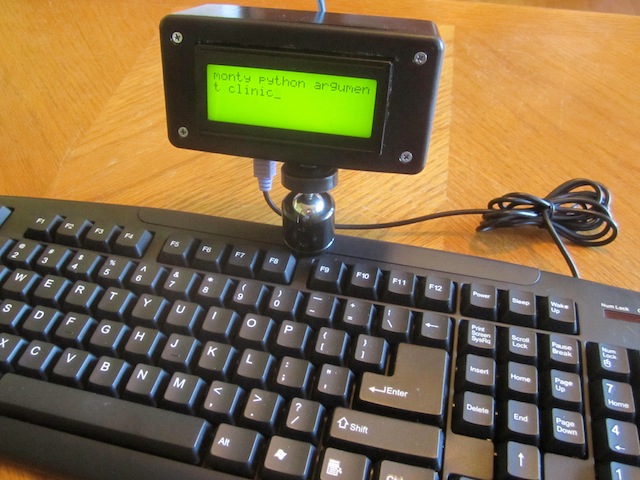
I had seen a 40x2 LCD on an online salvage store and thought that it would be a great fit for this project. That ended up being a big mistake since it was so difficult to find a suitable enclosure for this odd size. Once I decided to ditch the 40x2 and use a 20x4 LCD that I had on hand the final build come together quickly.
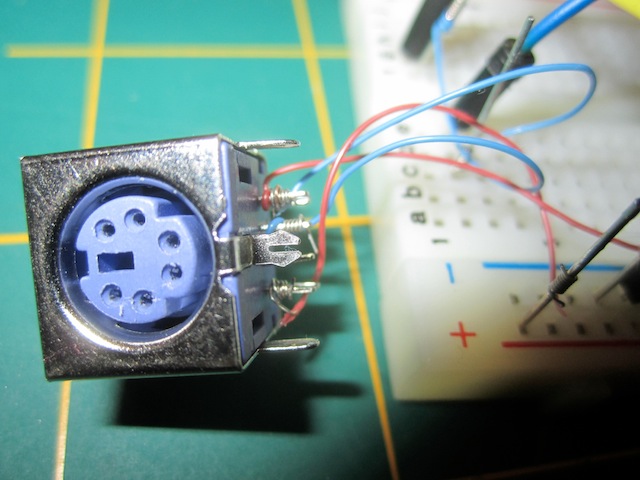
A PS/2 keyboard is a nice simple device and an Arduino library provides the means to communicate with it. I’m certain that there are stockpiles of these once ubiquitous devices in the dusty storage rooms of companies big and small. To my surprise I was able to purchase one brand new for cheap. I thought that this would have to be a thrift store acquisition. PS/2 jacks can be purchased on eBay.
The microcontroller board for this project is a Teensy 2.0. It’s a great board that works with modified versions of some Arduino libraries and can be programmed from the Arduino IDE thanks to a program called Teesyduino that sits between the IDE and the board.
I cut a small circuit board to size and soldered on headers for the Teensy and LCD. The PS/2 jack is at the bottom of the board and on the
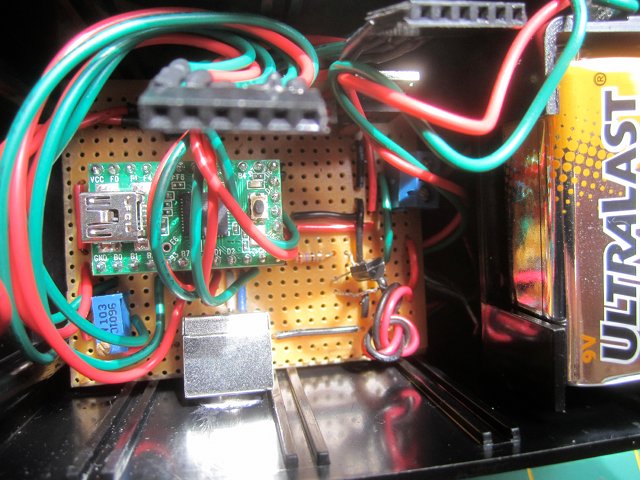
right side is a 5V regulator for the Teensy and a transistor circuit for firing the LED. The batteries sit beside the circuit board, 2 AA cells for the IR LED and a 9V for the rest of the components
The final piece to the puzzle was a way to mount the project enclosure to the keyboard and how to attach the IR LED to the enclosure. The tricky part is that the LCD should be able to be tilted independently of the LCD.
I ended up mounting the enclosure with
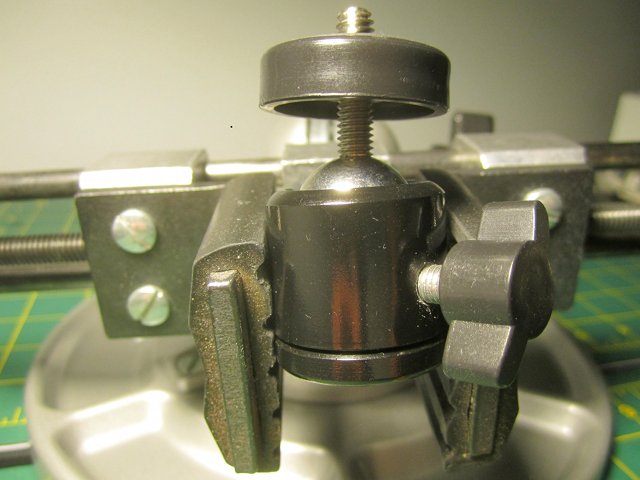
a mini ball head that is meant to mount a camera to a tripod head. This gives great freedom in tilting the LCD. It is held onto the keyboard with a 1/4” machine screw and it’s attached on the other end to a 1/4” nut inside the enclosure.
Part of a dollar store book light was repurposed to hold the IR LED. It sticks out a hold drilled through the rear of the enclosure, like a periscope. No matter which way the keyboard is turned and the LCD is angled the LED can still be pointed at the IR receiver.
YouTube is Mine!
I used to dread doing a YouTube search on the Blu-ray player. Now if I feel like watching

“The Secret Life of Machines the Vacuum Cleaner part 1” I just type the title, hit return and sit back while the IR Keyboard does the work.